
T-shirts are some of the easiest garments to print at home. All you really need is a printer and ink cartridges.
But did you know that printing your own custom t-shirts at home can cost less than buying ready-made ones from retail stores? And that’s got lots of potential customers scratching their heads.
Printing your own t-shirts at home is easier than ever before. In fact, you don’t even need access to a laser printer or color cartridge, thanks to new DIY printers. These devices let you print high-quality images on regular paper, vinyl, cloth, or metal. So no matter what kind of fabric you want to print on, you can now make it happen without spending thousands of dollars.
Steps to Printing Your Own T-shirt
T-shirts are some of the easiest garments to print at home. All you really need is a printer and ink cartridges.
But did you know that printing your own custom t-shirts at home can cost less than buying ready-made ones from retail stores? And that’s got lots of potential customers scratching their heads.
Printing your own t-shirts at home is easier than ever before. In fact, you don’t even need access to a laser printer or color cartridge, thanks to new DIY printers. These devices let you print high-quality images on regular paper, vinyl, cloth, or metal. So no matter what kind of fabric you want to print on, you can now make it happen without spending thousands of dollars.
Steps to Printing Your Own T-shirt at Home
Step 1: Choose your design
You’ll probably start by browsing designs online for inspiration (many people use Pinterest).
You should plan how much time you have available to complete the project. If you want your shirt to be delivered in two weeks, then you have about six weeks to complete this entire project.
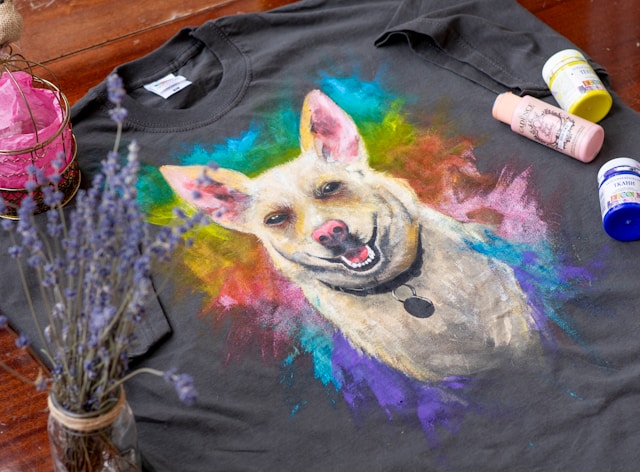
If you’re looking for something different and unique with which to celebrate an occasion, consider making a hand-painted masterpiece. This way, you get to control everything right down to the paintbrush strokes.
This process requires a significant amount of time, patience, skill, and money. But if you’ve always wanted to create your own artwork but never dared to try, now’s the time.
Step 2: Design your shirt
at Home
Step 1: Choose your design
You’ll probably start by browsing designs online for inspiration (many people use Pinterest).
You should plan how much time you have available to complete the project. If you want your shirt to be delivered in two weeks, then you have about six weeks to complete this entire project.
If you’re looking for something different and unique with which to celebrate an occasion, consider making a hand-painted masterpiece. This way, you get to control everything right down to the paintbrush strokes.
This process requires a significant amount of time, patience, skill, and money. But if you’ve always wanted to create your own artwork but never dared to try, now’s the time.